These 9 deck bench seating ideas run from a single afternoon with metal brackets to a full weekend of pocket-hole joinery and boxed corner panels.
What separates one project from the next is whether you need the bench to stay put forever or move when your situation changes.
A freestanding deck bench lets you drag seating under cover before a storm; bolted brackets through the rim joist lock you to the existing deck for good.
[link-whisper-related-posts]1. DIY Storage Bench
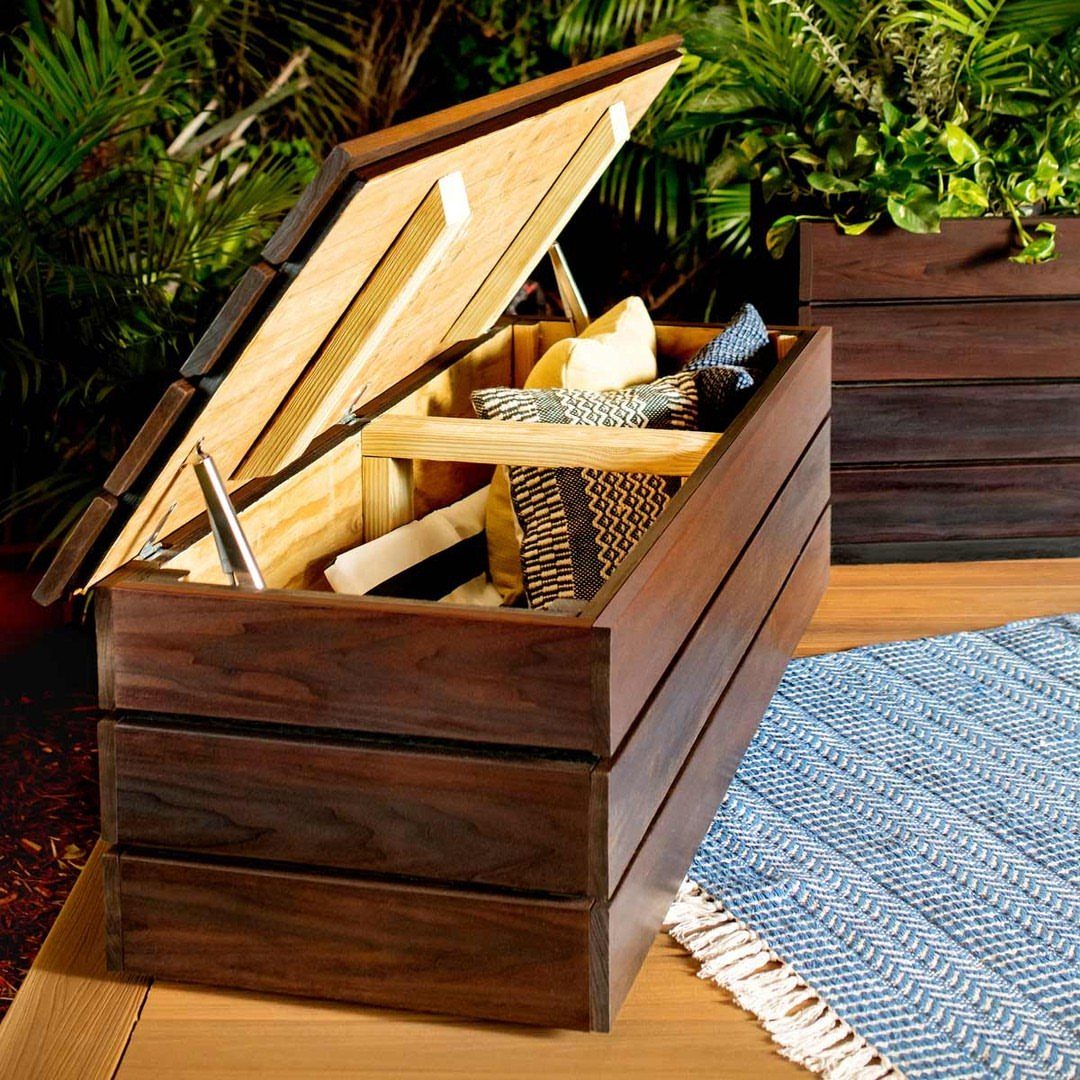
A storage bench keeps cushions dry through a wet week and gives you somewhere to sit when the sun comes back.
Build it from 2×2 and 2×3 lumber with a hinged top that lifts in a single motion, and run the storage the full length at 18 in high. That is enough depth for stacked outdoor pillows without the lid sitting proud.
I would build the frame with the 2x3s laid flat for strength and skin it with the 2x2s ripped down for a slimmer profile than standard decking.
A piano hinge across the back edge takes the strain better than 2 small ones.
Line the box with plastic sheeting or a shower curtain before you load it; bare wood will wick moisture from below and mildew your stored cushions in one season.

ALL-WEATHER DURABLE RESIN – Made from high-quality, weather-resistant resin that won’t rust, peel, fade, or rot, ensuring long-lasting outdoor performance year-round.

Chic Design: This all-weather wicker plastic storage box with modern rattan pattern design, which is a great decoration for deck, garden, yard, porch and poolside
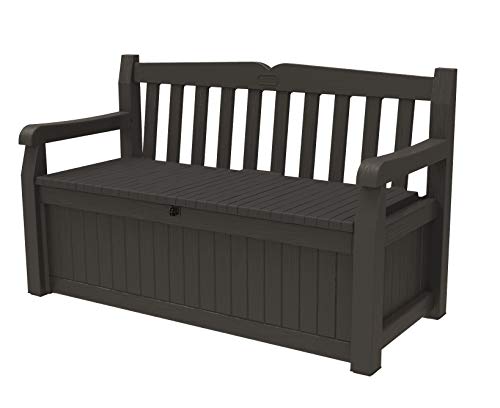
IDEAL SIZE: Exterior: 54. 6 in. L x 23. 4 in. W x 32. 8 in. H / Interior: 50. 4 in. L x 19. 7 in. W x 15 in. H
2. Deck Bench with Brackets
Metal brackets let you hang a bench off an existing deck frame without pouring footings or notching posts into the joists. Matte black brackets against pale wood make the whole build a single-afternoon project if your cuts are straight.
You need two 8 ft 2x4s for the frame, six 8 ft 2x6s for the seat boards, and one 8 ft 1×4 to cap the front edge so the end grain does not show.
Bolt the brackets through the rim joist, not just the decking, or the bench will rock when more than one person sits.
I would set the seat height at 17 to 18 in measured up from the deck surface, which is the standard for most deck benches.
A miter saw handles the crosscuts; a socket wrench and drill with the right bit are the only other tools.

Space Saving:Our folding brackets help maximize space by mounting them on walls in your garage, kitchen, shop, workshop, boat, motorhome, backyard, trailer, balcony, bathroom, and more. Perfect for creating more room in various areas

Space Saving:Our folding brackets help maximize space by mounting them on walls in your garage, kitchen, shop, workshop, boat, motorhome, backyard, trailer, balcony, bathroom, and more. Perfect for creating more room in various areas

Heavy Duty Carbon Steel Construction - Built from thickened solid carbon steel (52 mm wide × 8.5 mm thick), these L-shaped angle metal brackets deliver exceptional strength and stability for secure backrest mounting on wooden benches, chairs, and headboards.
3. Bench with Planters
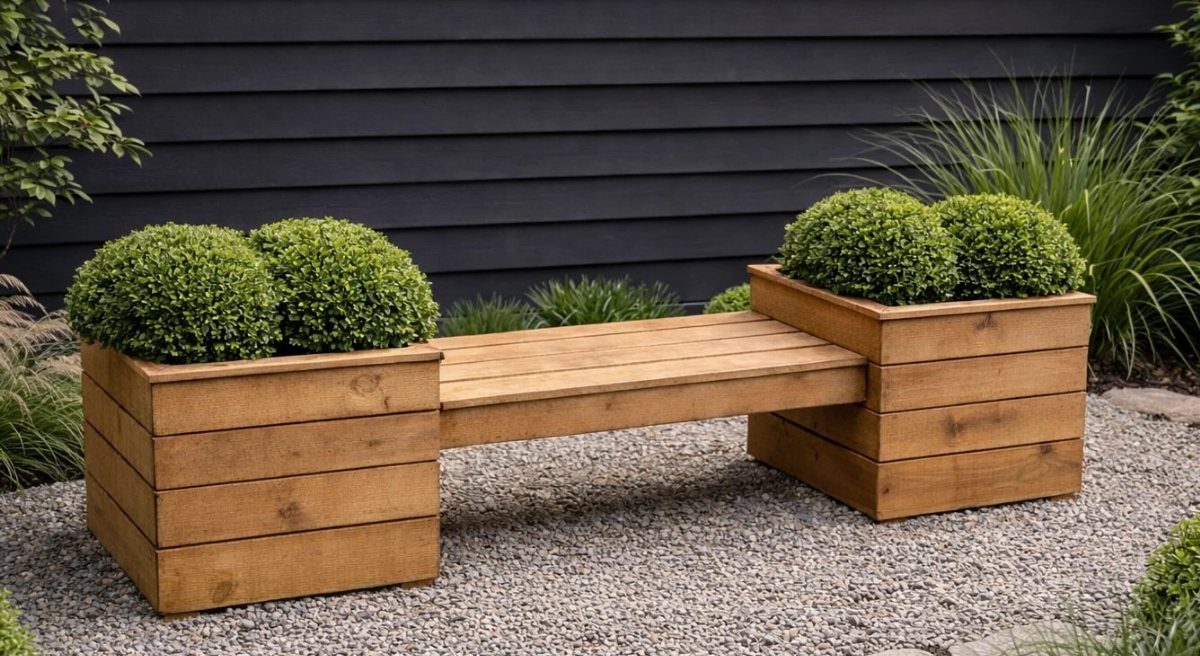
Planters at each end of a bench do 2 jobs: they root the seating in place so it does not skate on gravel, and they give you something living at elbow height without giving up floor space.
Boxed shrubs on a loose stone surface are exactly where freestanding furniture drifts.
Build the bench frame to fit a waterproof insert that lifts out for drainage and winter storage. PVC decking for the box sides will outlast cedar by years and takes the same screws.
Tie the bench to the planter for stability, and run a single 2×6 base plate under both, screwing the bench seat and the planter boxes to it from below.
That turns three separate pieces into one unit that stays put. Galvanized sheet metal as a liner is cheaper than buying purpose-built inserts, but fold the corners tight or soil will find the gaps.

Resistant Resin Material: Deck box is made of waterproof resin, with a complementing rattan pattern design, effectively preventing fading and rusting, while also maintaining a fresh appearance even with all-weather use

LARGE OUTDOOR STORAGE BOX: Fashionably store your outdoor furniture cushions, pool floats, and more. This outdoor storage bench offers lots of convenient, lockable storage space and has enough room to seat 2 adults.

Versatile Outdoor Organization:This practical deck box neatly stores patio cushions, garden tools and pool accessories, suitable for balconies, gardens and entryways.
4. Corner Bench Outdoor Seating
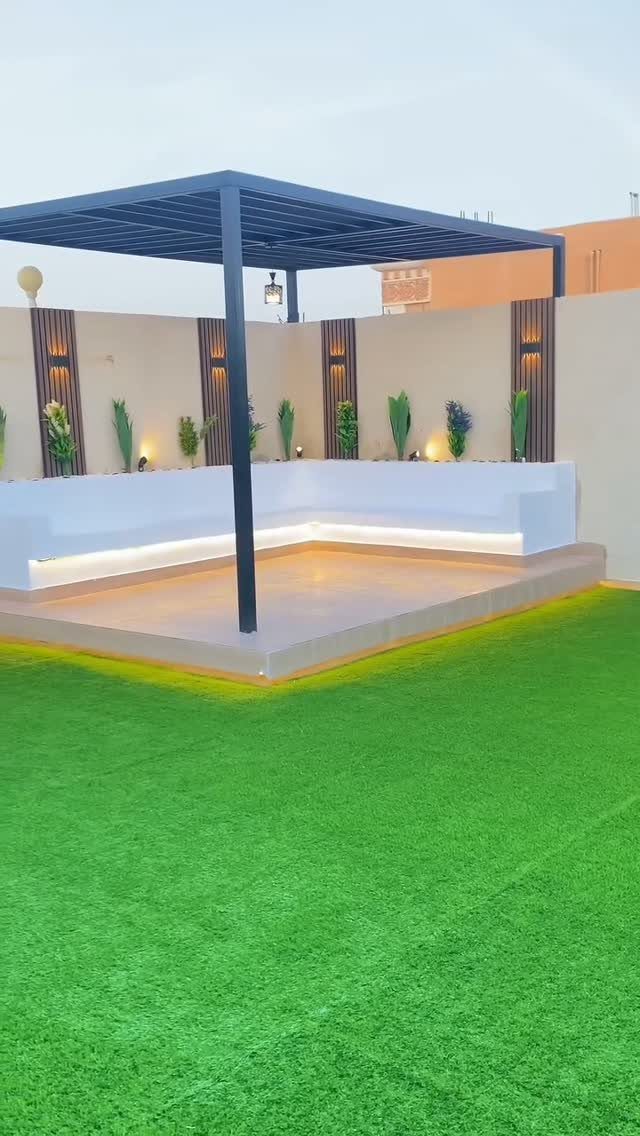
Corner seating turns the awkward angle where 2 deck edges meet into the spot where everyone wants to sit.
Pressure-treated 2x4s make the triangular brackets that carry the seat, screwed through the decking into the joists below. The seat itself is 1×6, either 8 or 12 ft boards depending on how far out your corner runs.
I like the 12 ft option for a deeper return; it gives you room to stretch legs or set down a plate. String lights on 2×2 posts overhead are optional but not hard to add while the framing is open.
Use stainless deck screws, 3.5 in for the structure and 1.25 in for the finish boards, or the galvanized kind will weep rust stains through white paint in the first humid summer.
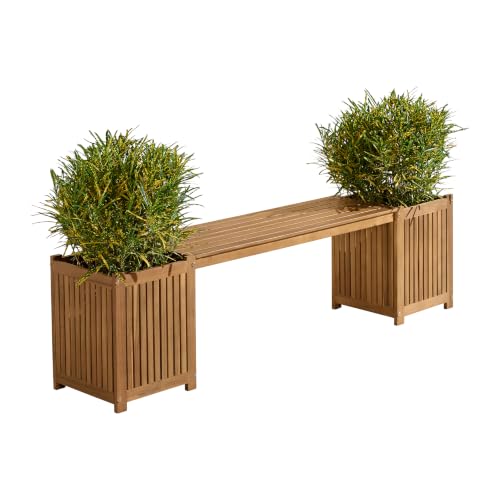
2-IN-1 OUTDOOR PLANTER BENCH - This 2-in-1 garden bench combines seating and planting space in one compact design with a bench seat in the middle and 2 planters for outdoor plants on either end, making it an ideal addition to your outdoor furniture.

DESIGN WITH INTEGRATED PLANTERS: This outdoor furniture piece combines two cube garden boxes with a connected bench seat to create a functional planter bench for compact spaces. The design includes two square planter boxes on each side with a clean slatted wood look and a center seat that helps frame flowers, herbs, or greenery. It works well as patio furniture, porch furniture, balcony furniture, or garden furniture, while also fitting covered indoor spaces such as an entryway or sunroom.

Dark Red meranti wood treated with teak oil: more durable and water resistant
5. Concrete and Wood Bench
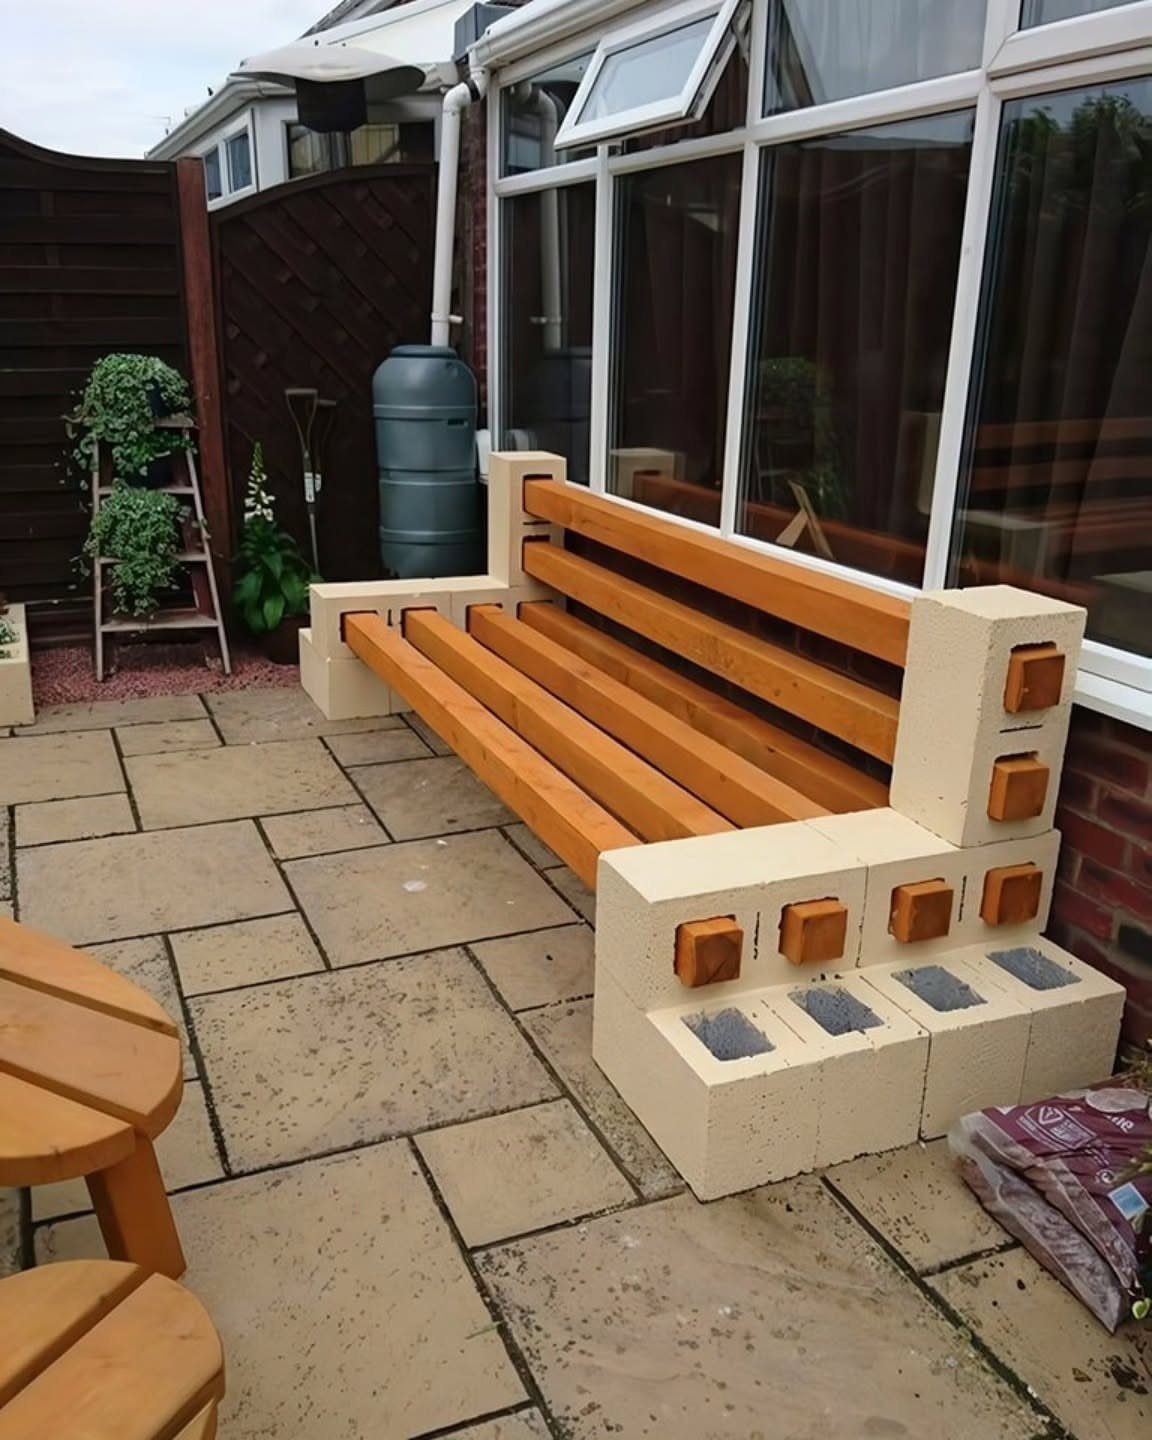
Concrete block and wood benching is the fastest way to get permanent outdoor seating without mixing a bag of concrete or waiting for curing.
Cream-painted blocks stack to height, and cedar 2x6s drop into the channels for a seat that can be any length you need.
Five-gallon buckets set inside the block columns, filled with sand or concrete, would add weight and keep the wood from bouncing.
A single 2×6 spans two columns for a short bench, or you run three columns and two boards for a longer one. Paint the blocks before you stack them, especially the top course where rain pools.
Unpainted concrete sucks water into the cores and spalls over freeze cycles. I would seal the cedar with an outdoor oil rather than paint it, so the grain stays visible against the solid blocks.

SIT, STASH, AND RELAX IN ONE PIECE. With a reinforced lid that holds up to 200 lbs, this resin outdoor deck storage box works as patio seating or an ottoman, while the interior handles outdoor cushion storage, yard gear, and pool or garden supplies.

EXTRA LARGE SPACE: Our YITAHOME outdoor storage box has a storage capacity of 120 gallons and dimensions of 52.1"L x 20.9"W x 24"H inside and 53"L x 22.7"W x 25.5"H outside
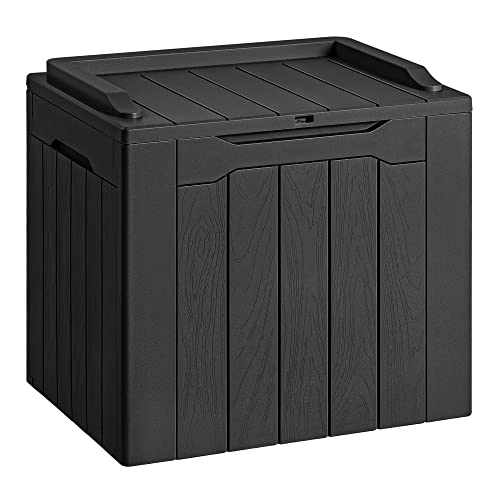
Light & Solid: Made of a high density resin material, it is stable, waterproof and UV resistant. The net weight of this deck box is only 8.8 pounds
6. Built-In Corner Bench
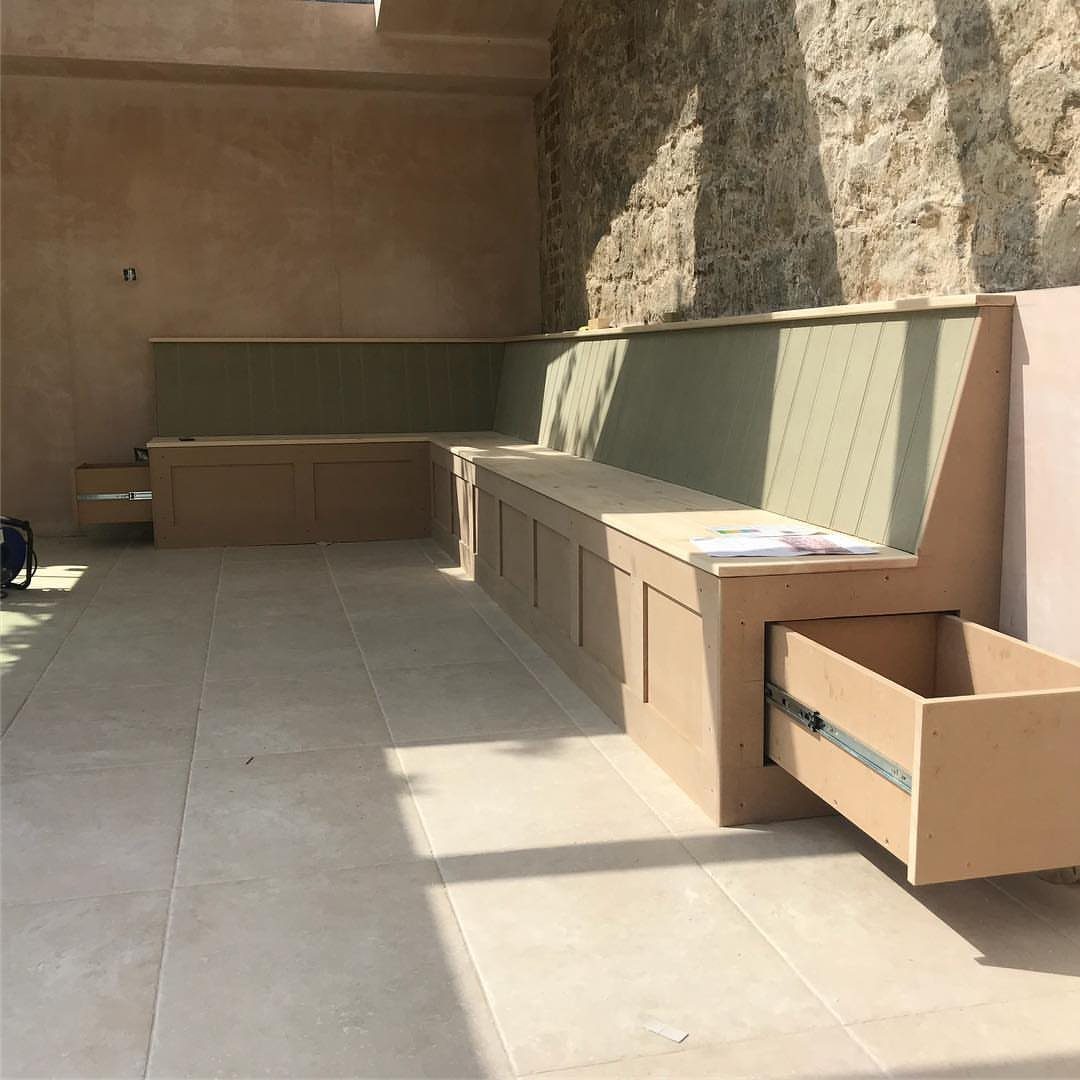
A built-in corner bench with drawers underneath is cabinetry moved outside: a tan finish and sage paneling above read as deliberate furniture, not leftover deck boards.
A drawer built to full depth means the whole volume below the seat is usable, not just a false front.
Triangular 2×4 brackets carry the seat, same as the open-frame corner bench, but here they are boxed in and faced with panels.
The facing is where your time goes; the structure is quick. I would add a slatted or perforated bottom to the drawers, or at least a gap at the back, so humid air does not sit against stored cushions.
Pressure-treated 1×6 for the seat, pressure-treated 2×4 for the structure, stainless screws throughout: the materials are familiar, the difference is all in the boxing and finishing.
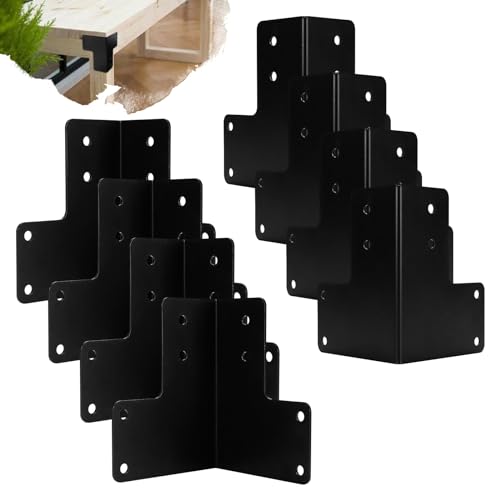
[High Quality Material]: the corner brackets are made of thick metal material which is heavy duty and black powder-coat finish; durable and sturdy enough.


Sturdy and Stylish: Our metal bench legs are designed to provide both strength and style to your bench. Crafted from durable black metal, these legs offer a modern and sleek look that will enhance any outdoor space
7. Deck Bench Railing
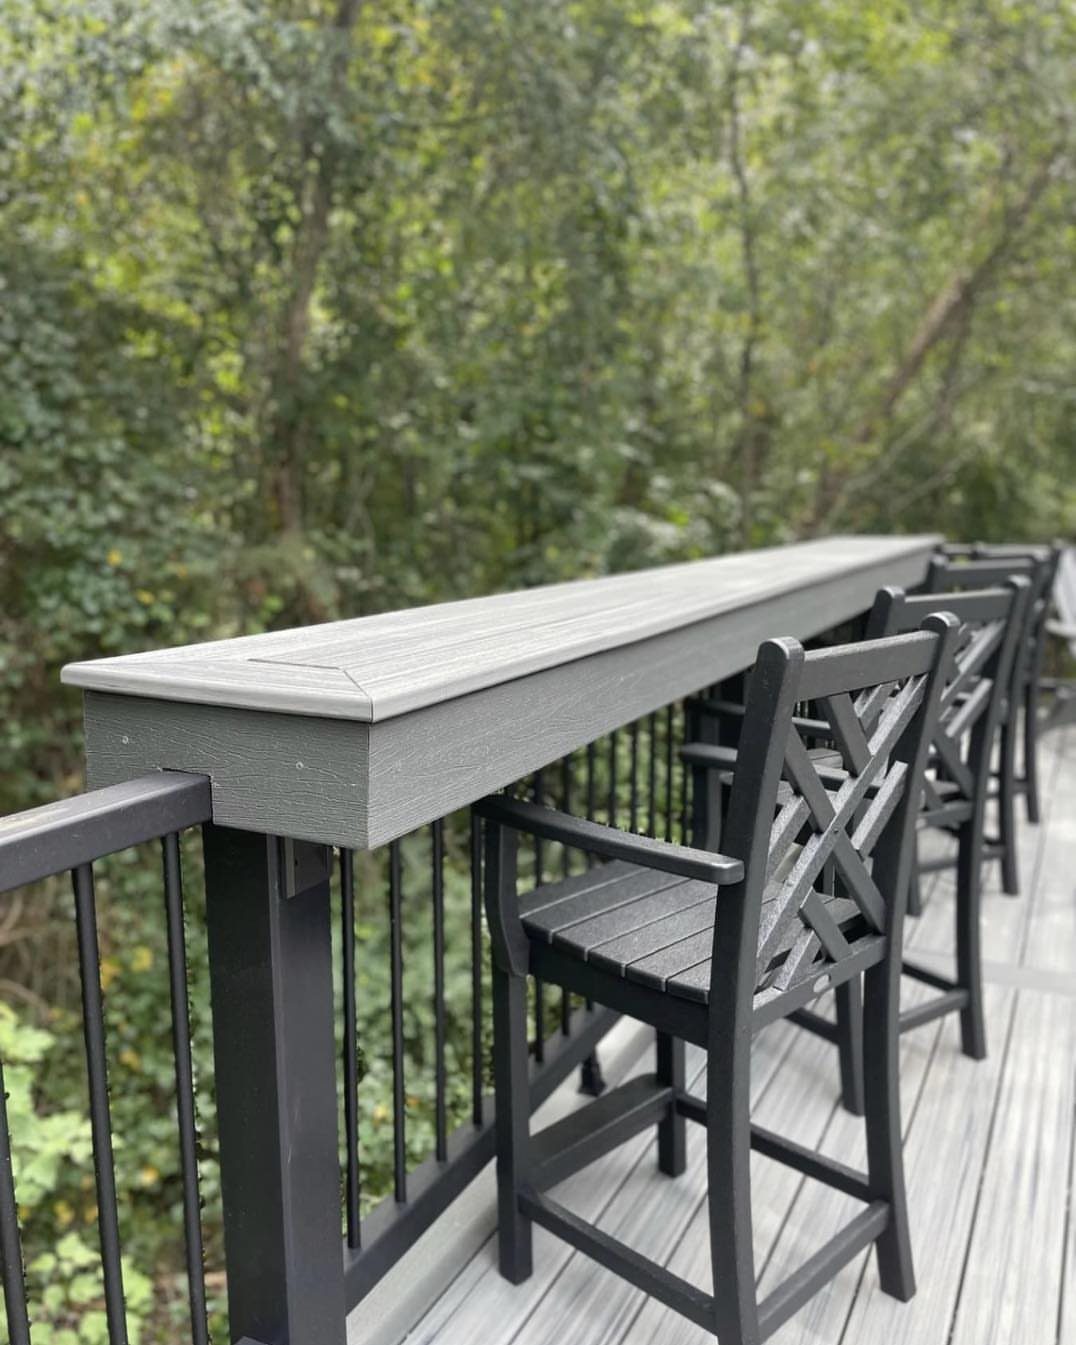
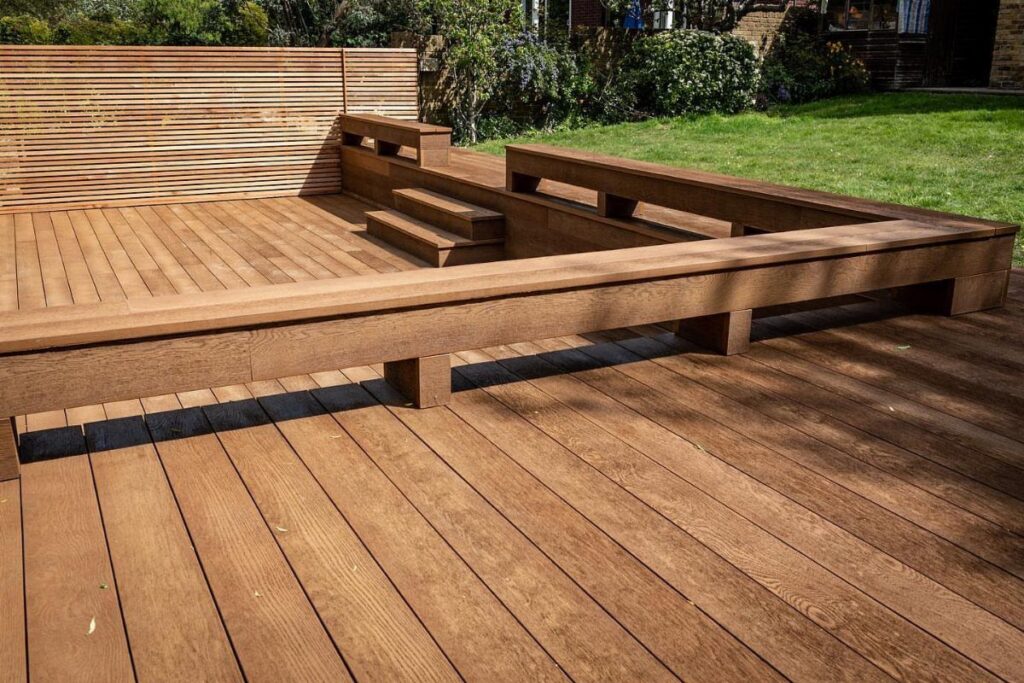
A bar-top rail turns your deck edge into a place to sit with a drink and still see past the trees. The bench is the railing; the railing is the bench.
Composite decking for the top surface weathers without the warping that ruins wood rails after 2 wet seasons.
Check your local code before you start; most jurisdictions want 36 to 42 in from finished floor to top rail, and a bar surface above that line needs to be graspable or it counts as a second rail with its own rules.
The visible build uses a metal subframe screwed through the deck rim into joists below, not just decking, or the whole thing flexes when someone leans.
I would set the bar height at 41 to 43 in, which lets a standard 30 in stool slide under without knees hitting. Leave a 10 to 12 in overhang on the yard side for plates and elbows.

Exterior Dimensions: 4 ft. 2. 3 in. L x 2 ft. 1. 2 in. W x 2 ft. 2 in. H; Interior Capacity: 116 Gallons

SLATTED, VENTED DESIGN: This outdoor storage has slatted sides and raised base to promote airflow and drainage to help keep contents drier.

Resistant Resin Material: Deck box is made of waterproof resin, with a complementing rattan pattern design, effectively preventing fading and rusting, while also maintaining a fresh appearance even with all-weather use
8. DIY Outdoor Bench
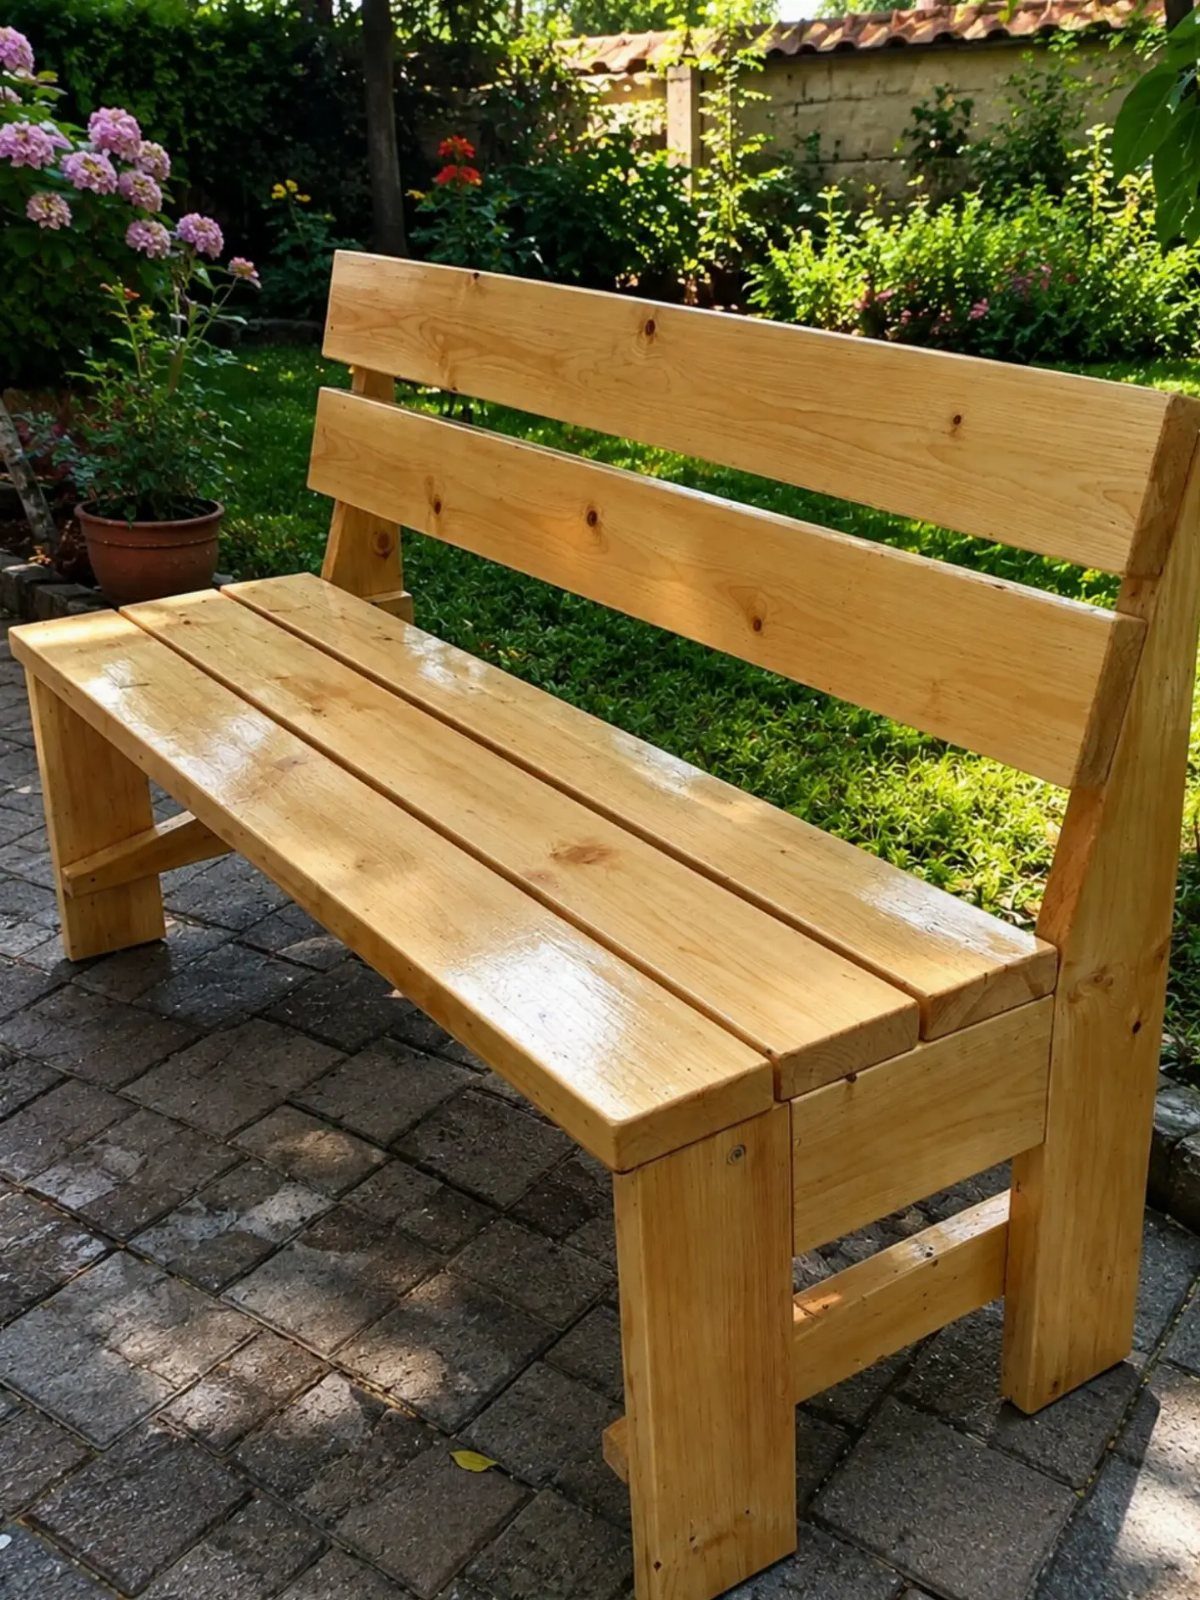
Pocket-hole joinery turns a Saturday and a pile of cedar into a bench that looks more built than bought. The holes hide on the inside faces, so the outside reads as clean boards joined by nothing at all.
Armrests at 8 in above the seat give you somewhere to hook a thumb when you stand, and they frame the ends so the bench does not look like a plank dropped on legs.
Build the back at 15 to 18 in tall measured from seat to top rail; anything lower and you are leaning on air.
Use 2x4s for the frame and 1x6s for the seat and back slats, spaced a quarter inch for drainage.
This is the bench for renters or anyone who needs seating they can move when the lease ends.
A coat of exterior oil every other year keeps the cedar from silvering if you prefer the wet look; let it go and it greys to match the stone it sits on.

[2 In 1 Multifunctional Design]: This innovative garden bench combines a comfortable bench with 2 spacious planter boxes. Whether you want to relax and enjoy the beauty of nature or tend to your plants, this versatile design meets all your needs.
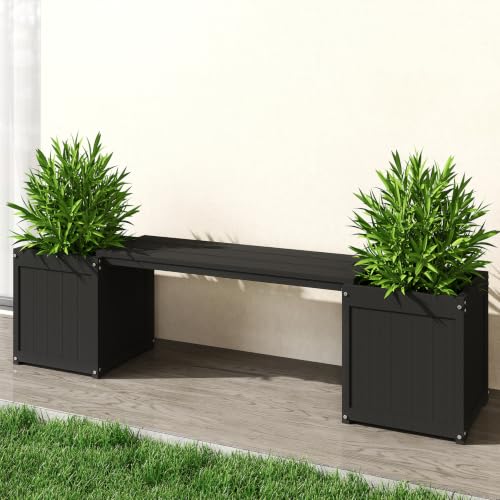
Complete 2-in-1 Set – Includes a detachable bench and two spacious flower boxes, featuring a practical design that combines seating and plant display functions(Not a planting box).

Complete 2-in-1 Set – Includes a detachable bench and two spacious flower boxes, featuring a practical design that combines seating and plant display functions(Not a planting box).
9. Freestanding Deck Bench
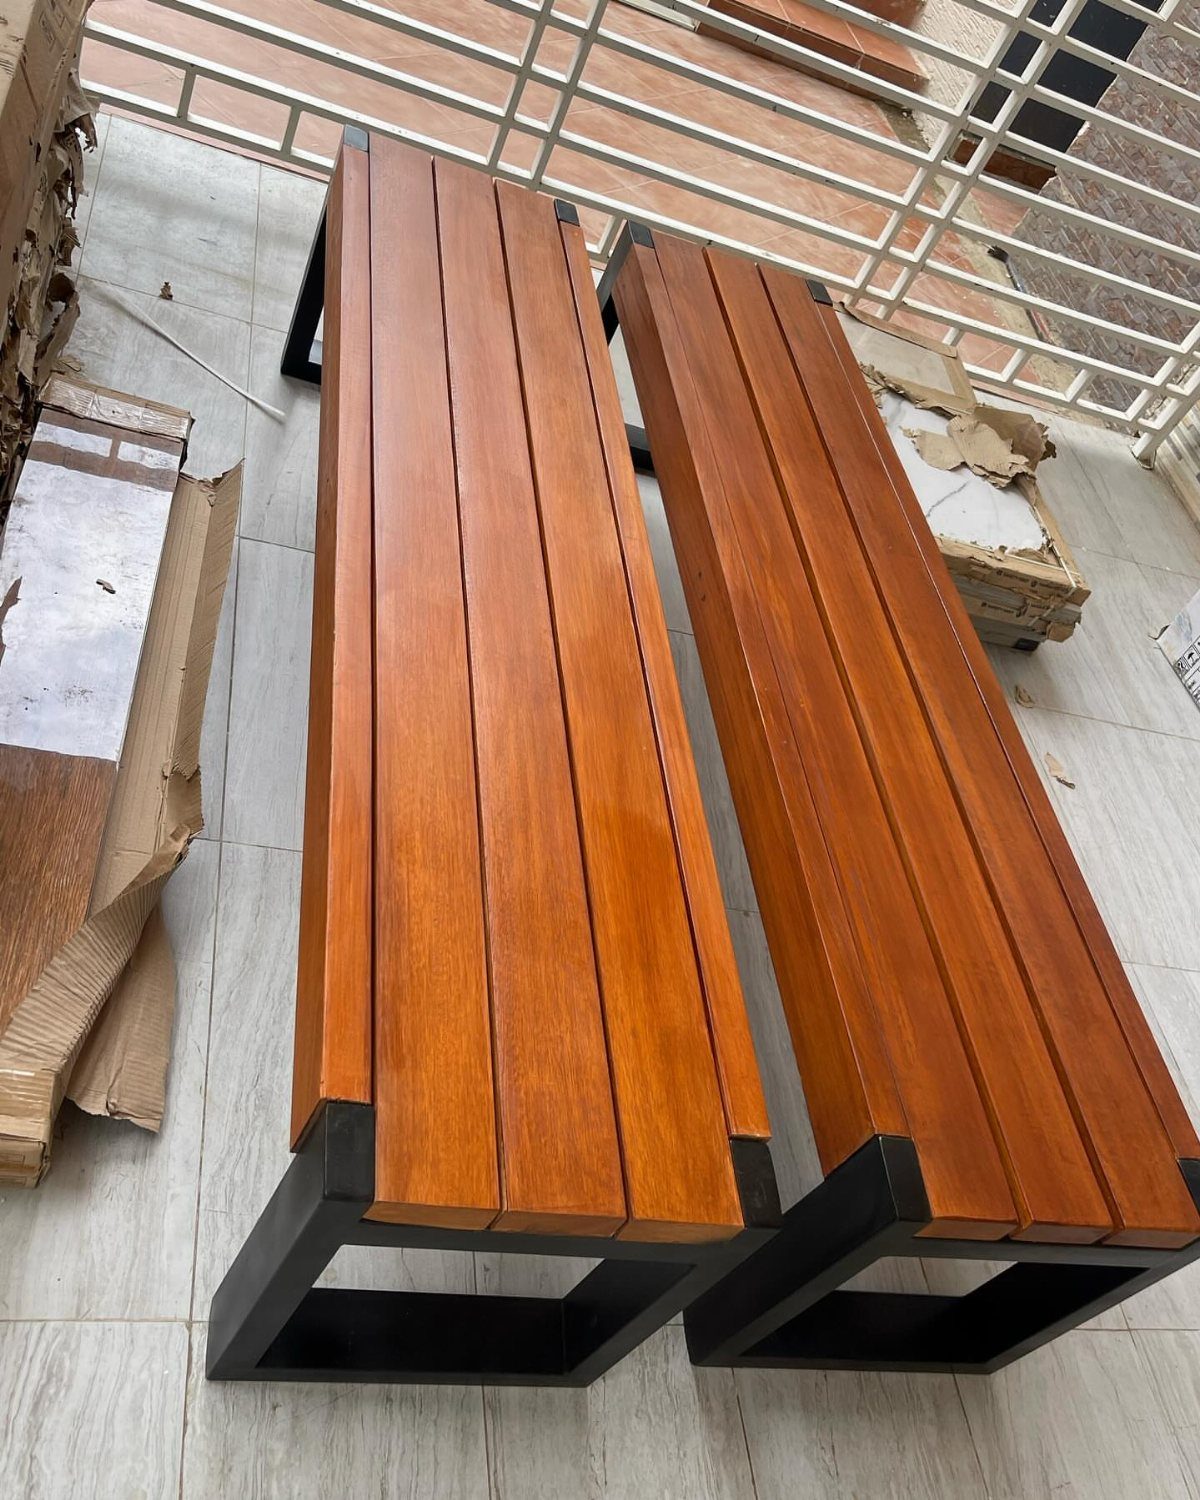
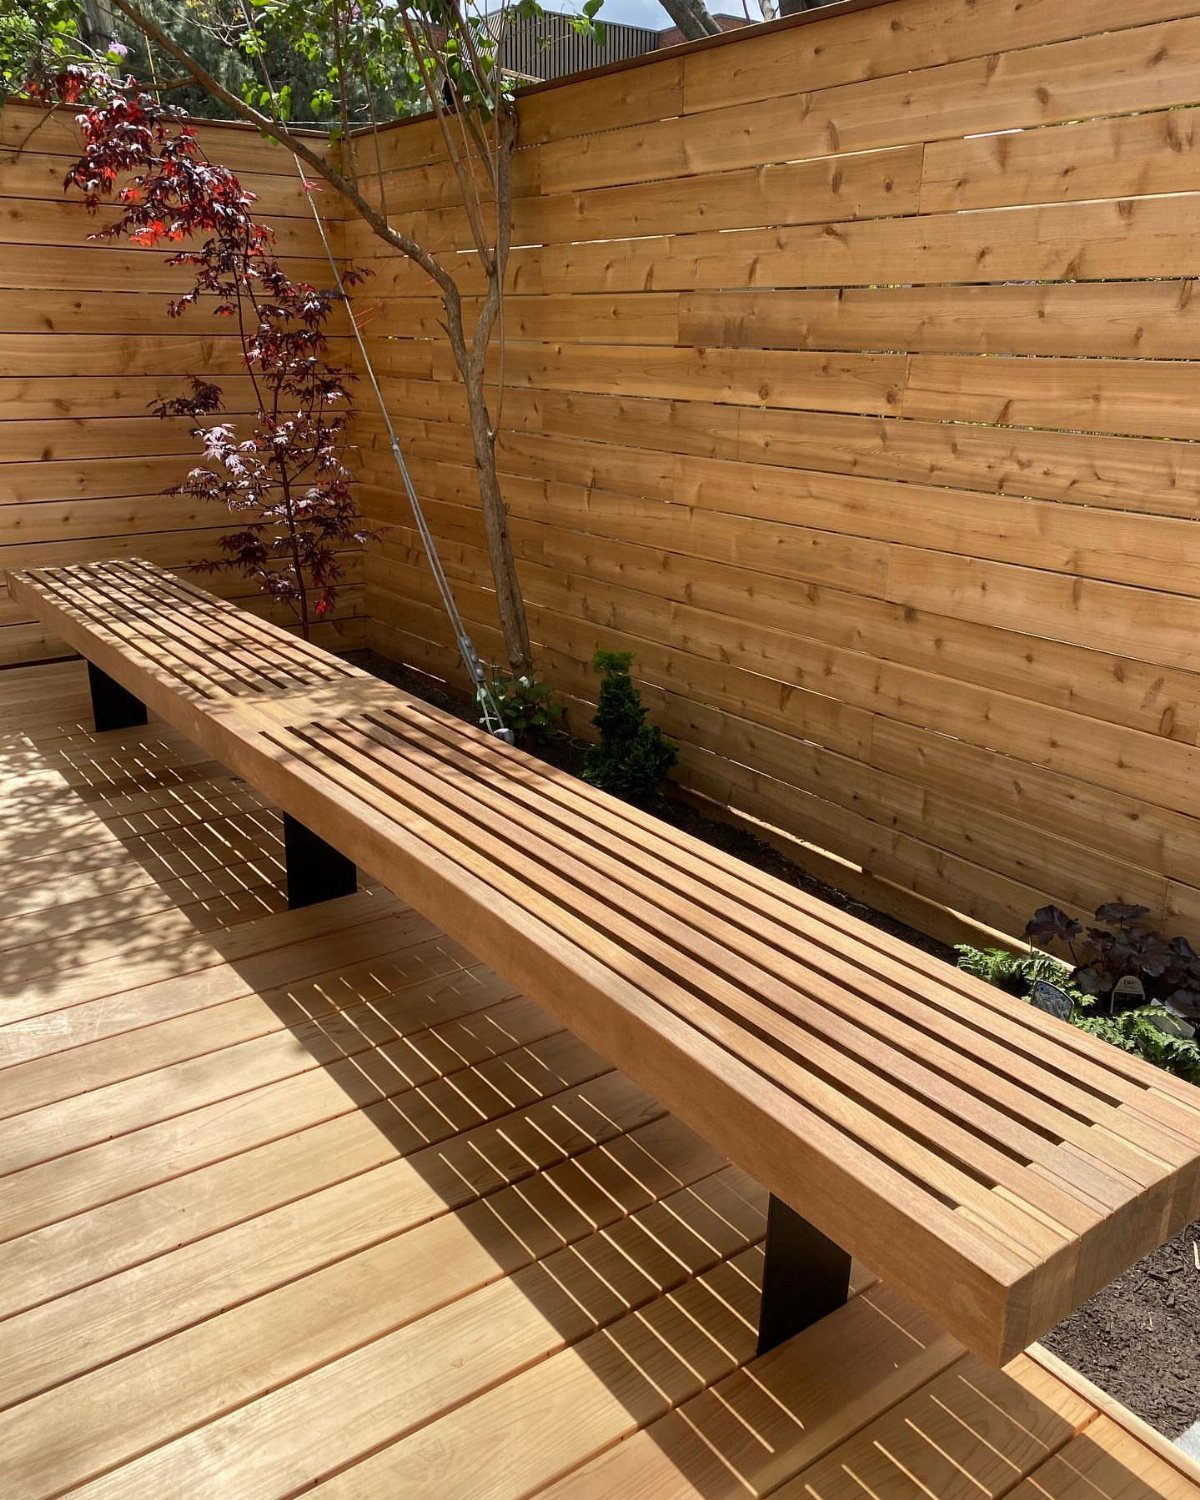
Geometric steel frames and wood slats make a bench you can move to chase shade or drag under cover when a storm blows in. The frame does the visual work; the wood just needs to stay flat.
Build the seat frame from 2x4s with 2×2 slats spaced half an inch for water to run through.
Black metal geometric frames support this bench at a 17 in seat height, or you could run taller supports and add a backrest later.
Corner stretchers at 3.5 in and 7 in down from the seat keep the legs from racking; a 4×4 block between each leg and its brace stops the twist that loosens screws over a season of sitting and standing.
Set the legs in concrete only if you are sure the bench stays put.
I would leave mine freestanding; a heavy frame and wood construction is enough to stay steady on tile or deck boards, and freedom to move beats a permanent installation most summers.
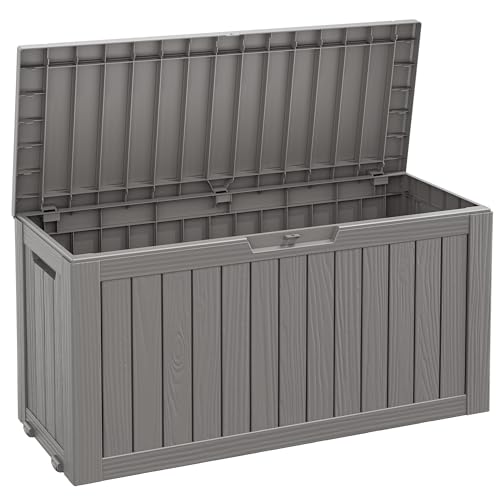
Spacious Storage – This outdoor storage box offers an extra-large 75-gallon capacity, letting you store all your items neatly. It’s perfect for keeping your home and yard organized

50‑Gallon Storage Capacity for Small Outdoor Spaces: Perfect compact storage solution for balconies, patios, porches, and garage areas, offering 50 gallons of space for everyday outdoor essentials.
Materials Needed for Benches
Pressure-treated 2x4s and 2x6s carry most bench frames, with 1x6s for slatted surfaces and 2x2s for trim or thinner profiles. Cedar holds up without the green tint of treated lumber, though it costs more upfront.
Galvanized hardware weeps stains; stainless does not. Structural screws handle the load where brackets bolt through rim joists, and pocket-hole screws hide inside frames for cleaner faces.
Waterproofing means plastic sheeting or shower curtains lining storage boxes, or galvanized sheet metal folded tight at corners for planter liners.
Purpose-built inserts work, but cost more than a five-gallon bucket set in a block column or a folded liner from the hardware store.

【Sturdy Post Base】The post base adopts the 2mm thick steel plate powder coating process, which can keep the post from corrosion. The solid steel material provides strong support for the post anchor and can effectively improve the service life of the post anchor. This deck post base has a bright black appearance and more texture than others. The curved appearance is more decorative than the ordinary upright wooden post base
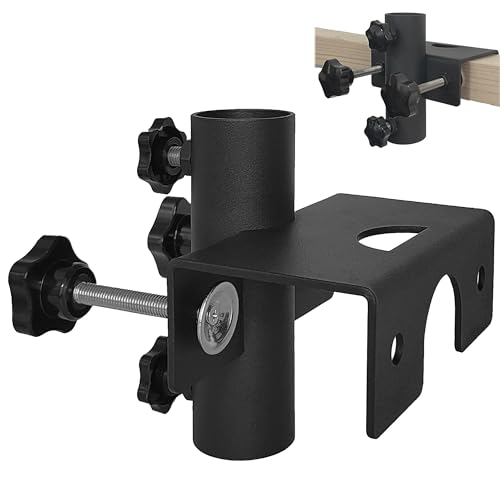
Rustproof and Durable--Our parasol umbrella holder is made of well metal with a black powder coated surface, which is rustproof and durable, patio umbrella holder ensuring that the umbrella can be firmly fixed in place even in windy weather

【Upgraded materials】The Deck Bracket is made of Strong Nylon 6/6, contains 20% sun-proof fiberglass. Our deck railing brackets have high hardness, not easy to crack, corrosion-resistant, suitable for both indoor and outdoor.
Tools Required for Construction
A miter saw handles crosscuts for bench frames and seat boards. A drill with the right bit bores pilot holes and drives screws; a socket wrench tightens bracket bolts.
A jig and stepped drill bit handle pocket-hole joinery, and the jig earns its keep once a second piece is on the build list.
Level and tape measure set heights and keep things square. A speed square marks angles for corner brackets and mitered ends.
CAD software helps plan complex benches before cutting, especially where stairs meet walls at odd angles. Paper works too, just slower.
Design Considerations
Finished surface, not the dirt below, is where 17–18 in of seat height starts; that puts feet flat the same way standard chairs do.
Overhang matters for comfort and use. Backrests need 15 to 18 in above the seat to lean against; less and shoulders hang in space.
Built-in storage needs air movement. Solid boxes trap moisture even when the lid seals tight.
Time Investment
Corner benches with boxed panels and drawer faces take longer; the structure is quick, the finishing consumes the hours.
Projects with angled cuts, triangle boxes, or multiple planters reward patience. Rushing joinery in humid conditions leaves gaps that open wider by fall.
Frequently Asked Questions
How to build a deck bench seat?
A freestanding deck bench starts with 2×4 frames and 2×2 slats screwed inside for the seat surface. The core tools are a miter saw, drill, and level; deck screws and patience on the cuts hold the whole frame together.
What is the typical seat height for a deck bench?
Standard deck benches sit 17 to 18 in above the finished deck surface, not the ground below, so feet rest flat like they would on a regular chair.
Bar-top rail seating sits higher, at 41 to 43 in, to let a 30 in stool slide underneath.
What kind of furniture is best for a deck?
Built-in benching tends to outlast freestanding pieces on a deck because it does not drift or flex with use.
Storage benches keep cushions dry through wet weather, bracket-mounted benches hang off existing framing without new footings, and concrete block benches with wood tops give permanent seating without mixing concrete.
For anything that must move when a lease ends, a pocket-hole cedar bench comes apart or relocates with a drill.